Last Updated on December 22, 2022
Today, we’ll show you some ideas for a ‘happy birthday’ red velvet cake design. These will vary in style and difficulty for all bakers to try.
‘Happy Birthday’ Red Velvet Cake Design – Some Ideas To Try
There are hundreds of incredibly unique red velvet birthday cake ideas on the internet today. Why? Because this is a cake that is known for its luscious texture, uber-rich and creamy flavor, and expressive visual display of love and care.
Yes, we know. It almost sounds poetic! But once you see some of the amazing creations people come up with, you’ll feel swooned too!
So, what exactly counts as a “‘happy birthday’ red velvet cake design?” In our opinion, any cake made from classic red velvet cake and cream cheese frosting.
Furthermore, what separates these from other birthday red cake designs is that they say “Happy Birthday.” Today we will show you a few ways you can create an amazing cake like this.
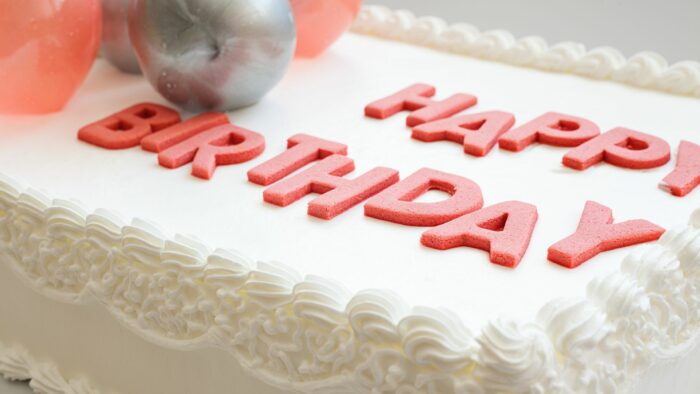
1. Piped writing
This is the oldest form of cake typography. For centuries, people have been using piping bags to create beautiful edible text.
Today, you have two main options to choose from. The first is writing directly on the cake. However, we find this process a little difficult.
So, what we like to do instead is create bulky letters using royal icing on some parchment paper. These will become hard and can be easily transferred directly onto the cake. They can be laid down flat or inserted to stand out.
2. Create a paper banner
This is one of our personal favorite ways to add a message to a cake. You can create a simple paper banner and stick it into the cake with skewers. It will hang across and clearly display the loving message.
And, the best part of this option is that there are hundreds of ready-made “Happy Birthday” banners available to buy. You can look online, at a party shop, or your local baking supply store.
This option works great in the “birthday fancy red velvet cake” category. You can get modern and minimalistic paper banners for cakes.

3. Fondant printed
Now, this option won’t work for every ‘happy birthday’ red velvet cake design.
You can order a printed sheet of fondant that has the written message on it. This option works well for intricate text or embellishments. The sheet can either be designed to fit onto the side of the cake or on the top.
For most red velvet cake decorations for birthday parties, we’d recommend getting a printed sheet that fits the top of the cake. Then, the edge of the cake can be covered with piped embellishments.
About Our Delicious ‘Happy Birthday’ Red Velvet Cake Design
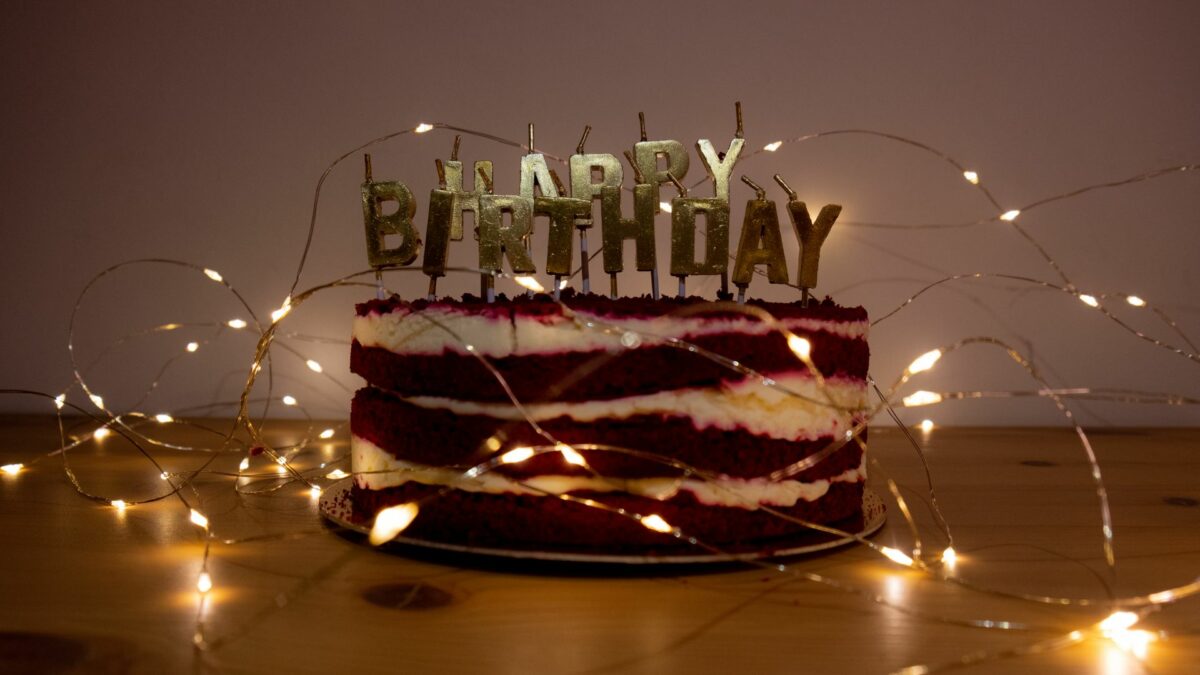
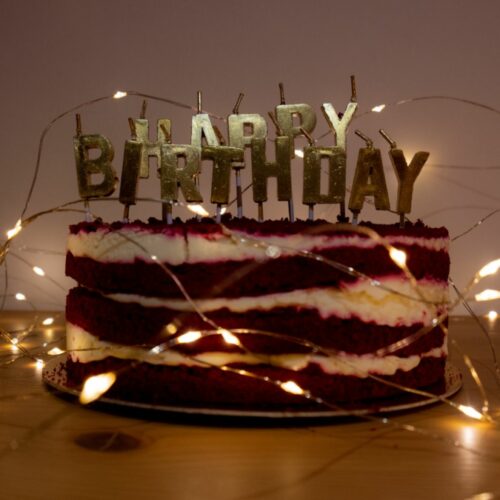
Today, we will show you how to create the most difficult of the above-mentioned options. We will show you how to write “Happy Birthday” with Royal Icing.
Our red velvet cake is relatively simple in design for this article. But, you can go as elaborate or simplistic as you’d like.
We are going to use a pre-made and assembled red velvet layer cake with cream cheese frosting.
What You Need To Create This ‘Happy Birthday’ Red Velvet Cake Design
Ingredients for the royal icing
- 2 cups powdered icing sugar, sifted
- 1 1/2 tablespoons meringue powder
- 4-5 tablespoons water, room temperature
- Food coloring, optional
Equipment
- Measuring cups and spoons
- Mixing bowls
- Electric whisk
- Printed letter design
- Baking or cookie sheet
- Tape
- Sheet parchment paper
- Piping bag
Step by step instructions
Step 1: Get your equipment ready
Print a sheet of paper with your letters on it. You can choose any font that you’d like, even if it is thin and delicate. It doesn’t have to be bulky. But, it should be bold and clear.
Place the printed piece of paper onto a baking sheet or cookie sheet. Stick it down with some tape. Add a sheet of non-stick sheer parchment paper over the printed paper. Stick this sheet down with tape too.
Step 2: Make the royal icing
To start, combine the powdered sugar, meringue powder, and 4 tablespoons of room-temperature water into a large mixing bowl.
Then, beat the ingredients at a high speed with an electric whisk for about 60-90 seconds. When you lift the icing out of the bowl, it should drip down slowly and smoothly. If it disappears back into the mixture within 5-10 seconds, the consistency is perfect.
See the tips section for adjusting the consistency of the royal icing.
Place the royal icing into a piping bag. Cut a small tip off the bag.
Step 3: Pipe the letters
Now, in the same way, a toddler learns to write, trace the printed letters with your royal icing. If you have bulky letters, trace the outside lines first, then flood the letter with more royal icing.
Step 4: Leave the letters to harden
Finally, once your letters or script have been created with the royal icing, leave it to harden at room temperature. This may take a while depending on the humidity in the room.
Once they are hard, you can carefully peel them off the parchment paper and place them on the frosted cake.
Expert Tips
- If your royal icing is too thick, you can add another tablespoon to the mixture. Again, beat the water in at a high speed for about 60 seconds.
- The longer you beat the royal icing, the thicker it will become. So, don’t overdo it. You need a relatively thin, smooth, and runny icing.
- So, if your royal icing is too thin, you can beat it for a little longer to make it thicker.
- If you want to color the icing, add the coloring when you add the water (before beating). The gel food coloring (which is the best option to use)
Preparations Times And Servings
| Preparation Times | Baking Times | Servings |
| 5 minutes | 0 minutes | 2 cups |
Wrapping Up – A Fun ‘Happy Birthday’ Red Velvet Cake Design
Remember, creating royal icing letters for a ‘happy birthday’ red velvet cake design does take some practice. But, it’s well with the effort. And, it opens the door for much more decorating possibilities!
Let us know what you think in the comments below. And, if you have any other red velvet cake design ideas.
'Happy Birthday' Red Velvet Cake Design - 3 Ways!
Equipment
- Measuring cups and spoons
- Mixing bowls
- Electric whisk
- Printed letter design
- Baking or cookie sheet
- Tape
- Sheet parchment paper
- Piping bag
Ingredients
- 2 cups powdered icing sugar, sifted
- 1 1/2 tablespoons meringue powder
- 4-5 tablespoons water, room temperature
- Food coloring, optional
Instructions
- Step 1: Get your equipment ready
- Get your equipment readyPrint a sheet of paper with your letters on it. You can choose any font that you'd like, even if it is thin and delicate. It doesn't have to be bulky. But, it should be bold and clear.Place the printed piece of paper onto a baking sheet or cookie sheet. Stick it down with some tape. Add a sheet of non-stick sheer parchment paper over the printed paper. Stick this sheet down with tape too.Place the printed piece of paper onto a baking sheet or cookie sheet. Stick it down with some tape. Add a sheet of non-stick sheer parchment paper over the printed paper. Stick this sheet down with tape too.
- Make the royal icingTo start, combine the powdered sugar, meringue powder, and 4 tablespoons of room-temperature water into a large mixing bowl.Then, beat the ingredients at a high speed with an electric whisk for about 60-90 seconds. When you lift the icing out of the bowl, it should drip down slowly and smoothly. If it disappears back into the mixture within 5-10 seconds, the consistency is perfect.See the tips section for adjusting the consistency of the royal icing.Place the royal icing into a piping bag. Cut a small tip off the bag.2 cups powdered icing sugar, sifted, 1 1/2 tablespoons meringue powder, 4-5 tablespoons water, room temperature, Food coloring, optional
- Pipe the lettersNow, in the same way, a toddler learns to write, trace the printed letters with your royal icing. If you have bulky letters, trace the outside lines first, then flood the letter with more royal icing.Leave the letters to hardenFinally, once your letters or script have been created with the royal icing, leave it to harden at room temperature. This may take a while depending on the humidity in the room.Once they are hard, you can carefully peel them off the parchment paper and place them on the frosted cake.